Creating a VPN with Ubuntu & Tailscale
In this post you will learn how you can setup your own VPN by routing all the traffic via remote Ubuntu server using Tailscale.
Tailscale is a service that makes the devices and applications you own accessible anywhere in the world, securely and effortlessly. It enables encrypted point-to-point connections using the open source WireGuard protocol.
Now let’s get working…
Pre-requisites
You need to have tailscale installed on your PC. It has cross-platform support you can download the app for you specific OS here. Install, authorize your account and make sure your local machine is connected on admin console.

I assume you are running on Windows or Mac, in which case the first step of installation and authorization is pretty easy. After few clicks your local machine will be live on tailnet. For Linux users it is easiest 😉
Secondly, you need a server or a device which you want to setup as an exit node to route all your public internet traffic. Ideally you can configure any connected device as your exit node. I am using an Ubuntu server LTS 22.04, codename jammy based in Mumbai region.
Installing Tailscale on Server
I use SSH Keys to login into my server. Here is how to Install Tailscale on the server.
- Step 1 : Adding the key
curl -fsSL https://pkgs.tailscale.com/stable/ubuntu/focal.noarmor.gpg | sudo tee /usr/share/keyrings/tailscale-archive-keyring.gpg >/dev/null
curl -fsSL https://pkgs.tailscale.com/stable/ubuntu/focal.tailscale-keyring.list | sudo tee /etc/apt/sources.list.d/tailscale.list
- Step 2 : Install Tailscale
sudo apt-get update
sudo apt-get install tailscale

- Step 3 : Authorization
sudo tailscale up

It will generate a URL for authorization, copy and paste the URL in your local browser. Select the same method for sign up you used for first time setup on local machine. I went with email so I am using the same.
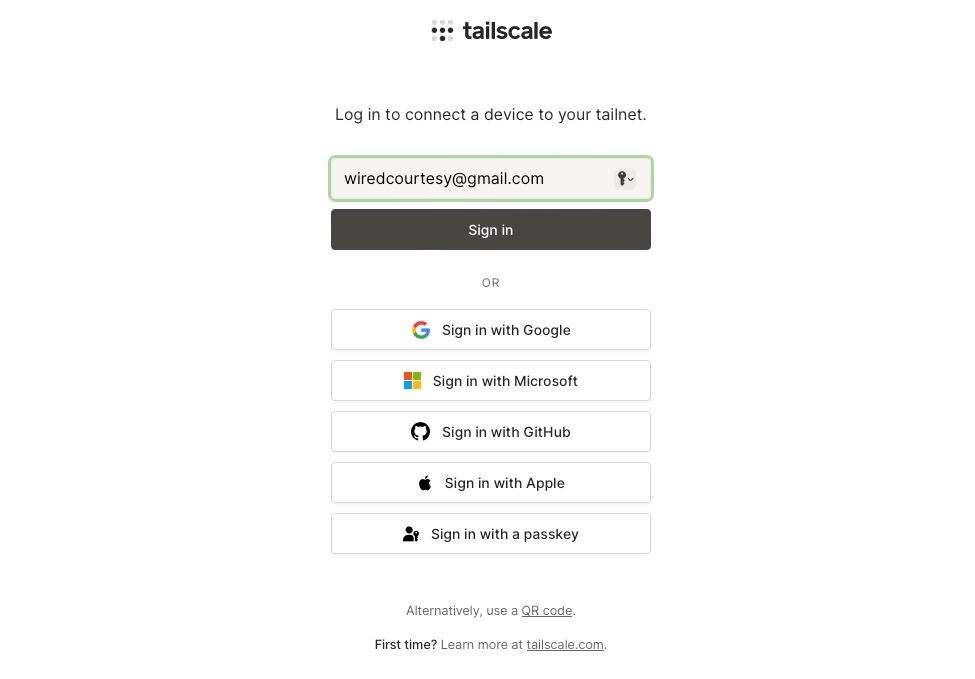
Select the authorization method, proceed and click on connect and you will get Login successful message at the end.
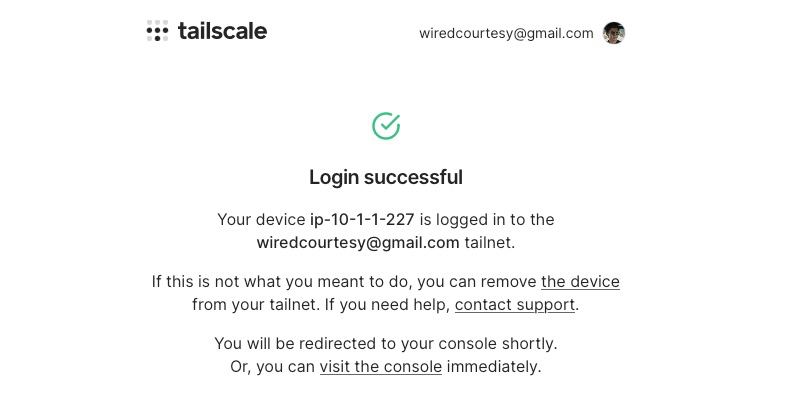
Now switch back to terminal where you are logged into your remote server and hit Ctrl + C to terminate the ongoing process.
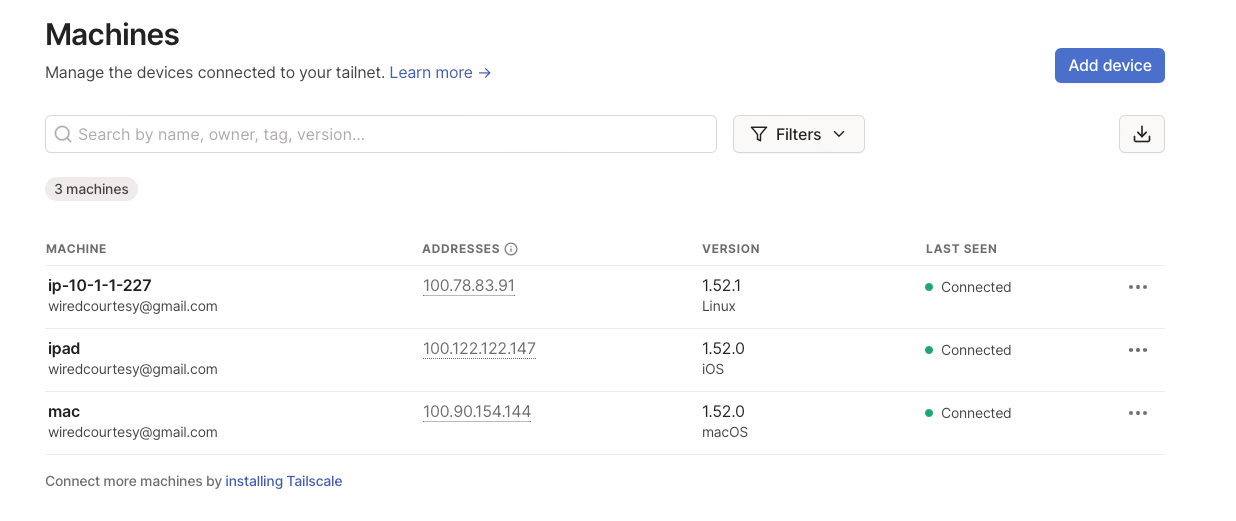
In your local browser navigate to the admin console and you should see all your connected devices with green status.
Setting up Server as Exit Node
Enable Port Forwarding on Server
echo 'net.ipv4.ip_forward = 1' | sudo tee -a /etc/sysctl.d/99-tailscale.conf
echo 'net.ipv6.conf.all.forwarding = 1' | sudo tee -a /etc/sysctl.d/99-tailscale.conf
sudo sysctl -p /etc/sysctl.d/99-tailscale.conf
Advertise the server as an exit node
From the device you’d like to use as an exit node, re-run tailscale up with the --advertise-exit-node flag.
sudo tailscale up --advertise-exit-node
Open the Machines page of the admin console, and locate the exit node device. You can look for the Exit Node badge in the machines list
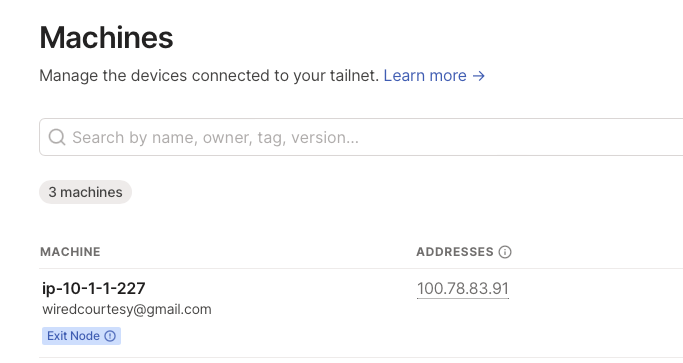
Once you’ve found the machine, from the three-dots icon menu at the right, open the Edit route settings panel, and enable the Use as exit node option.

Use the exit node
You can now use the exit node from devices in your network. Each device must enable the exit node separately.
So in order to route the traffic of your PC through Ubuntu server, on your local machine run the command in this format:
sudo tailscale up --exit-node=<exit-node-ip> --exit-node-allow-lan-access=true
Take note that the exit-node-ip is not the actual IP of the ubuntu server, instead it is the tailscale issued IP of the server which you can get from admin console or by running following command on the server:
tailscale ip
It will return ipv4 and ipv6 of the server. So in my case the command to use the Ubuntu server as my exit node would be:
sudo tailscale up --exit-node=100.78.83.91 --exit-node-allow-lan-access=true
That is it. You can verify that your traffic is routed via server by checking your public IP address by visiting https://ident.me and run curl ident.me on your server. You should see the exit node’s (server’s) public IP matches your local device’s IP.
Stop using the server as exit node
If you want to stop routing your public traffic via server, open your admin console, click on three dots menu, edit route settings and toggle off the button use as exit node.
Closing Thoughts
That is how you can setup your own VPN on a server or possibly any connected device meshed with your tailenet network based on Wireguard protocol. Nonetheless Tailnet is much more powerful utility and widely endorsed service. Take this as a starting guide to further explore this service.
That is all for today. If you found this post useful consider sharing it with friends & subscribe for regular posts using RSS or Telegram.
Reply via [mail](mailto:[email protected]?subject=📝 Response to blog post)