OrbStack: Run Linux & Docker Containers on Mac
I have been playing around with docker & virtual machines most of the time on AWS, primarily for learning purposes & partly to avoid local setup configuration. The first time I have setup a local virtual machine on my Mac was like few month ago using UTM. It was to actually create an Ubuntu based OSINT lab.
I have heard of Vagrant & other ways to install Docker on Mac but I never really bothered to try. I’m not sure exactly, but it was definitely either Reddit (when it was a thing) or certain Telegram community where I came to know about OrbStack. After reading the description it instantly hit me.
What is OrbStack
This is how OrbStack introduces itself:
OrbStack is a fast, light, and simple way to run Docker containers and Linux machines on macOS. You can think of it as a supercharged WSL and Docker Desktop alternative, all in one easy-to-use app.
Advantages
- ⚡️ Lightening Fast: starts in 2 seconds
- 🪶 Feather Light: low CPU and disk usage
- 🍰 Effortlessly Simple: features both CLI & GUI
- ⚙️ Powerful: run Docker containers and full Linux distros
Getting Started
First of all download OrbStack from the website or as a cask using homebrew
brew install orbstack
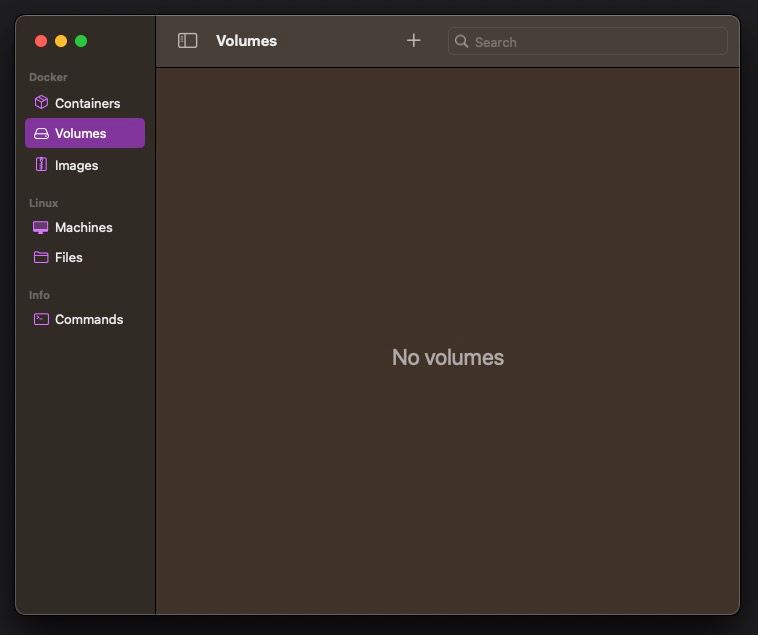
Launch the App and you will see the interface looking like this

Now there are two ways to interact with the OrbStack - CLI & GUI. I will walk you through the both approaches & it is pretty easy.
Creating Linux Machines
OrbStack features a variety of distros & these are highly-integrated lightweight machines that work almost exactly like traditional virtual machines.
Using GUI
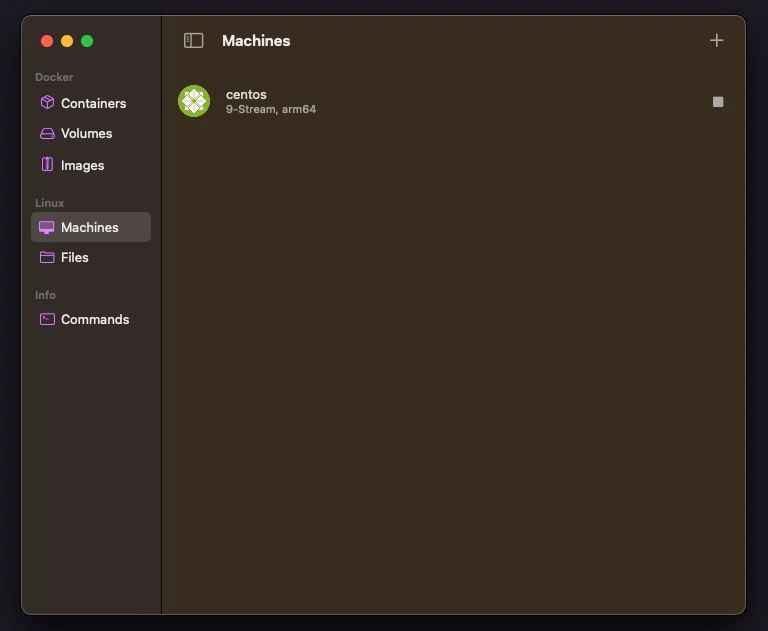
In the OrbStack App navigate to Machines on the left panel and click “New Machine” in the center, name your VM with any desired title, select your distribution, choose CPU type & click Create. Wait for few seconds & you will see the machine listed in the GUI.

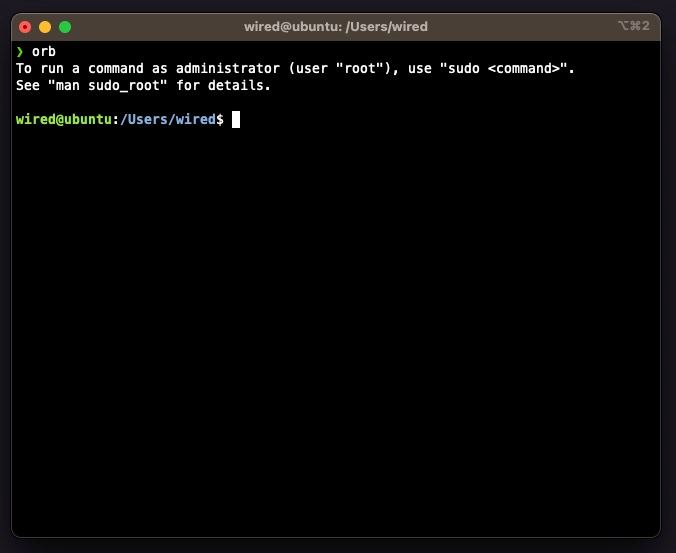
To use the distro, right click on the listed VM and select “Open Terminal”. Or launch your terminal & type orb & hit return.
To stop or delete the VM, right click on the vm in the list and select corresponding option.
Using CLI
To interact with OrbStack via terminal you can use orb command & to start, stop machines there is orbctl utility. Run orbctl --help for list of all subcommands.
For instance, to create an ubuntu VM, in the terminal run
orb create ubuntu
Wait few seconds for VM to be created. Next, in the terminal type orb & hit return to start using VM shell.

To logout from the VM type exit & hit return
To stop the VM, run
orbctl stop ubuntu
To delete the VM, run
orbctl delete ubuntu
Creating Docker Containers
OrbStack includes a Docker engine, making it easy to run Docker containers on macOS. Features including networking, port forwarding, bind mounts, and volumes work seamlessly like they would on Linux.
Docker is ready to use as soon as you open OrbStack, no setup required.
Create & Run a container
Launch your terminal & run this command
docker run -it -p 80:80 docker/getting-started
It will download the docker/getting-started image from the DockerHub (if it isn’t found locally), creates a new container based on that image. The -it option allocates a pseudo-TTY and keeps STD open, which allows you to interact with the container’s command line.
Open your browser & visit localhost:80
Hit Ctrl C to stop the running container.
To remove the exited containers, run
docker rm <container-id>
To remove the downloaded image
docker rmi <image-name> OR <image-id>
You can also interact with the docker container in GUI post creating the container in terminal.
This is an elementary guide to get you started with OrbStack. You can find detailed instructions on the official docs page, anytime.
That is pretty much about it, I hope you found this post useful. If you are using some other alts to run virtualized environs on Mac or if you have any questions please let me know.
Inspired by Julia Evans
Reply via mail
