My Dotfiles Config Management
What are dotfiles
Dotfiles are configuration files that start with a dot (“.”) and are typically used to configure settings and preferences for various command line tools, such as shells, editors, and other utilities on Unix-based systems. These files are often hidden by default in file managers and terminal applications, but they can be found in a user’s home directory (e.g., ~/.bashrc or ~/.vimrc).
To list dotfiles in your unix-based OS, run this command in your shell.
ls -la
Why track dotfiles with version system
By versioning dotfiles with Git, users can easily make changes to their configuration files and maintain a consistent setup across their different machines. It also enable users to share their configuration files with others or use others’ dotfiles as a starting point for their own configurations. Versioning makes it easier to share and sync configuration files between different machines, and to roll back to previous versions if necessary.
Getting started
The approach we are going to use is handsdown the most elegant in my opinion & the only prerequisite is git.
It requires no extra tooling, no symlinks, files are tracked on a version control system, you can use different branches for different computers, you can replicate you configuration easily on new installation.
So let’s get started
- In your home directory run:
git init --bare $HOME/.dotfiles
It will create a .dotfiles folder & initialize it as a bare repository, which will be used to track the dotfiles.
- Open your shell config file (.bashrc or .zshrc) with vim, add the following alias, save & exit.
alias dotfiles='/usr/bin/git --git-dir=$HOME/.dotfiles/ --work-tree=$HOME'
It will create an alias for git command which we will use to interact with the dotfiles. Restart your terminal or source your shell config file by running source ./zshrc
- Run this command to disable showing untracked files when checking repo status.
dotfiles config --local status.showUntrackedFiles no
Usage
Here is how you can start tracking your dotfiles.
dotfiles status

dotfiles add .zshrc

dotfiles commit -m "Add zshrc"

dotfiles push
You get it, all the commands and options of git are valid because dotfiles is simply an alias for git.
Pushing to remote
For ‘dotfiles push’ command to work you need to have a remote configured.
- Create a new repo in your github or desired host account, preferably with dotfiles name.
- Keep it private
- Uncheck the box Add readme.
- Do local commit & add your upstream repo by running
git remote add upstream <upstream_repository_URL> - And finally run
dotfiles push
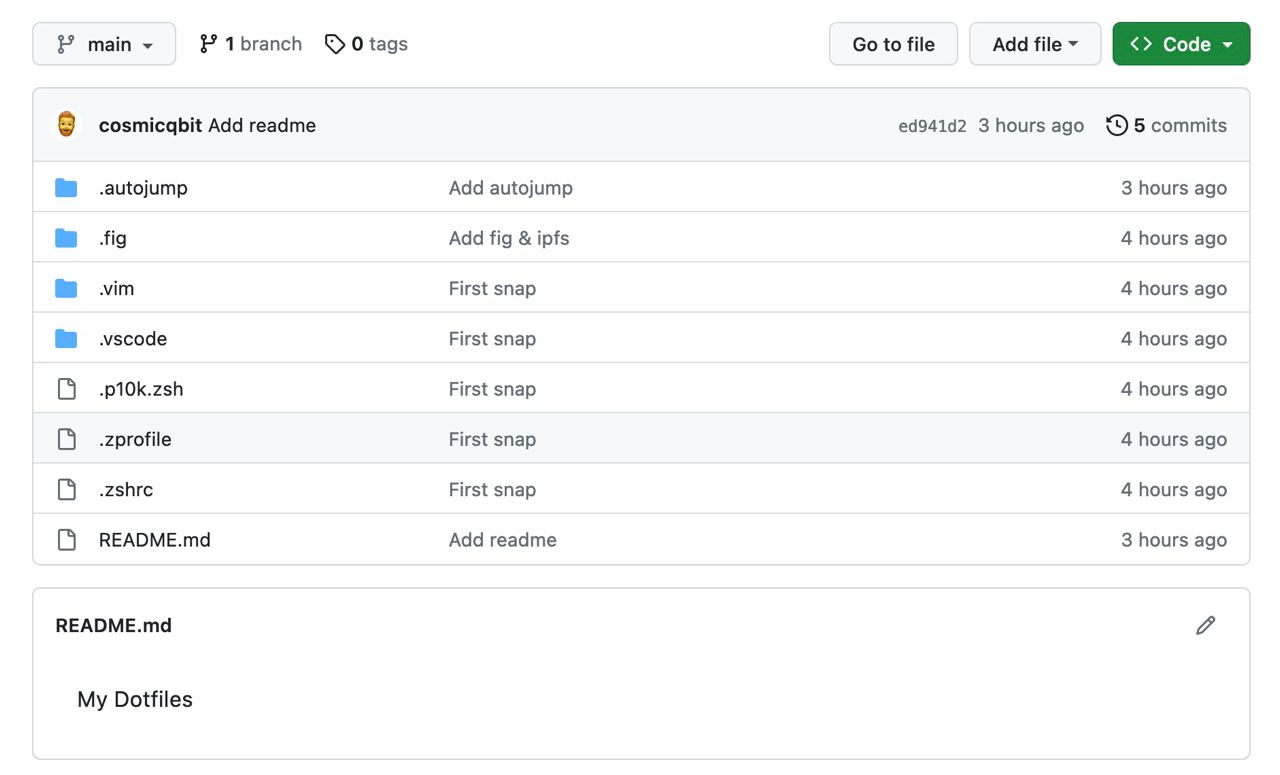
If you are curious here is snapshot of my dotfiles.

Setup on new system
Here is how to install or migrate your dotfiles on your new machine.
- Launch your terminal in home directory.
- Clone your dotfiles repo using
git clone --bare https://github.com/USERNAME/dotfiles.git $HOME/.dotfiles
- Define alias in the shell config (for eg in .zshrc)
alias dotfiles='/usr/bin/git --git-dir=$HOME/.dotfiles/ --work-tree=$HOME'
- Checkout the content from git repo to your $HOME
dotfiles checkout
- If you get any errors on checking out, that is because of the presence of existing dotfiles in the $HOME directory. So either delete or backup the existing dotfiles.
- Disable showing untracked files
dotfiles config --local status.showUntrackedFiles no
- You’re done, from now on you can now type dotfiles commands to add and update your dotfiles.
Well that is it for now. If you found this post useful consider sharing it with friends. This config is basically inspired from an old HN post.
For any queries or relevant questions, you can
Reply via mail
