Dockerizing a React App

In this post I’ll demonstrate how we can dockerize a React App. If you are a frontend developer & you’re not familiar with the concept of containerization or nitty gritty of docker this might be a bit off but if you follow along you will get gist of it.
Prerequisites
- Code Editor of your choice (I’m using VSCode)
- Terminal Access
- Docker installed on your machine. (I’m using Orbstack on Mac)
Creating React Project
For demonstration purposes, I’m spinning a fresh React project. Create a new directory on your desktop & open it using VSCode. Now fire up the terminal in VSCode from the top menu bar & run:
$ npm create vite@latest react-project
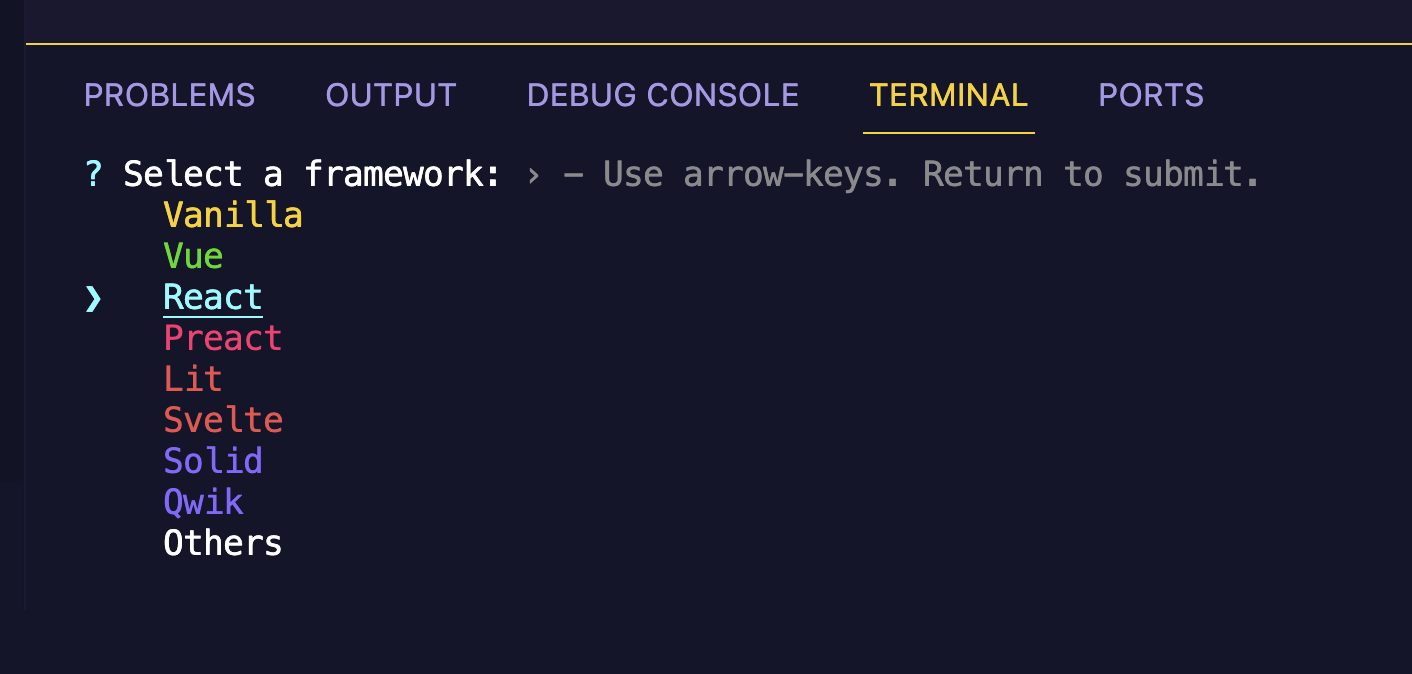
It will prompt you to select the framework & other options. Using arrow keys select React & then Typescript. A new directory will be created namely react-project. Now change directory into this folder in the terminal using cd command.
Creating Dockerfile
Inside the react-docker folder, create a new file namely “Dockerfile” - with no extension. Paste the following contents into it.
FROM node:20-alpine
RUN addgroup app && adduser -S -G app app
USER app
WORKDIR /app
COPY package*.json ./
USER root
RUN chown -R app:app .
USER app
RUN npm install
COPY . .
EXPOSE 5173
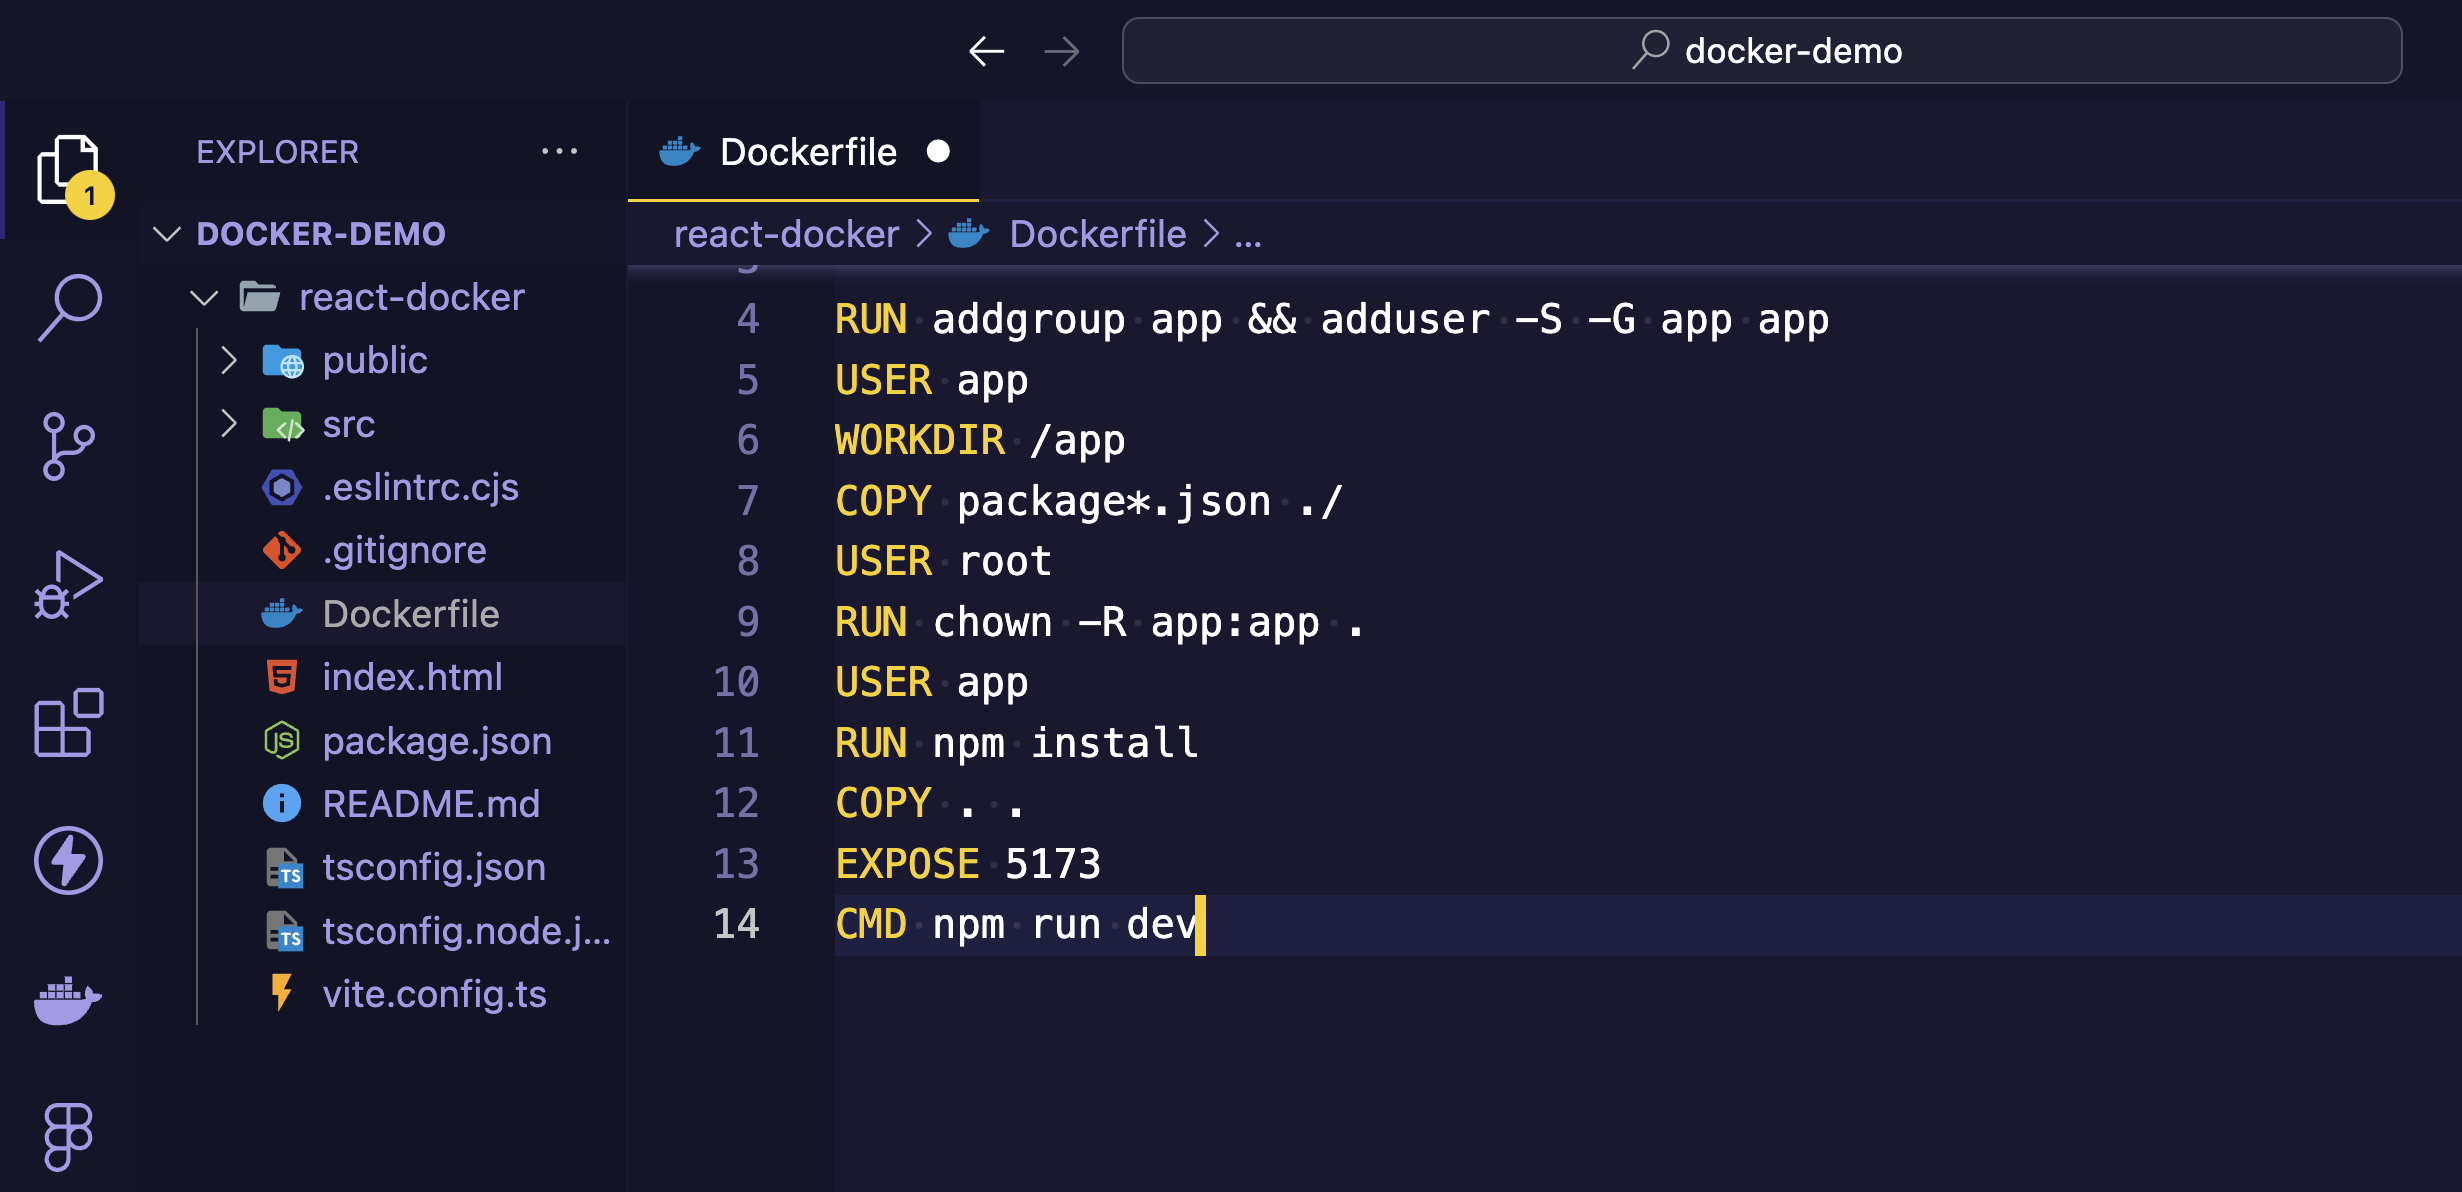
For step by step explaination on what each line exactly does you can refer to this gist.
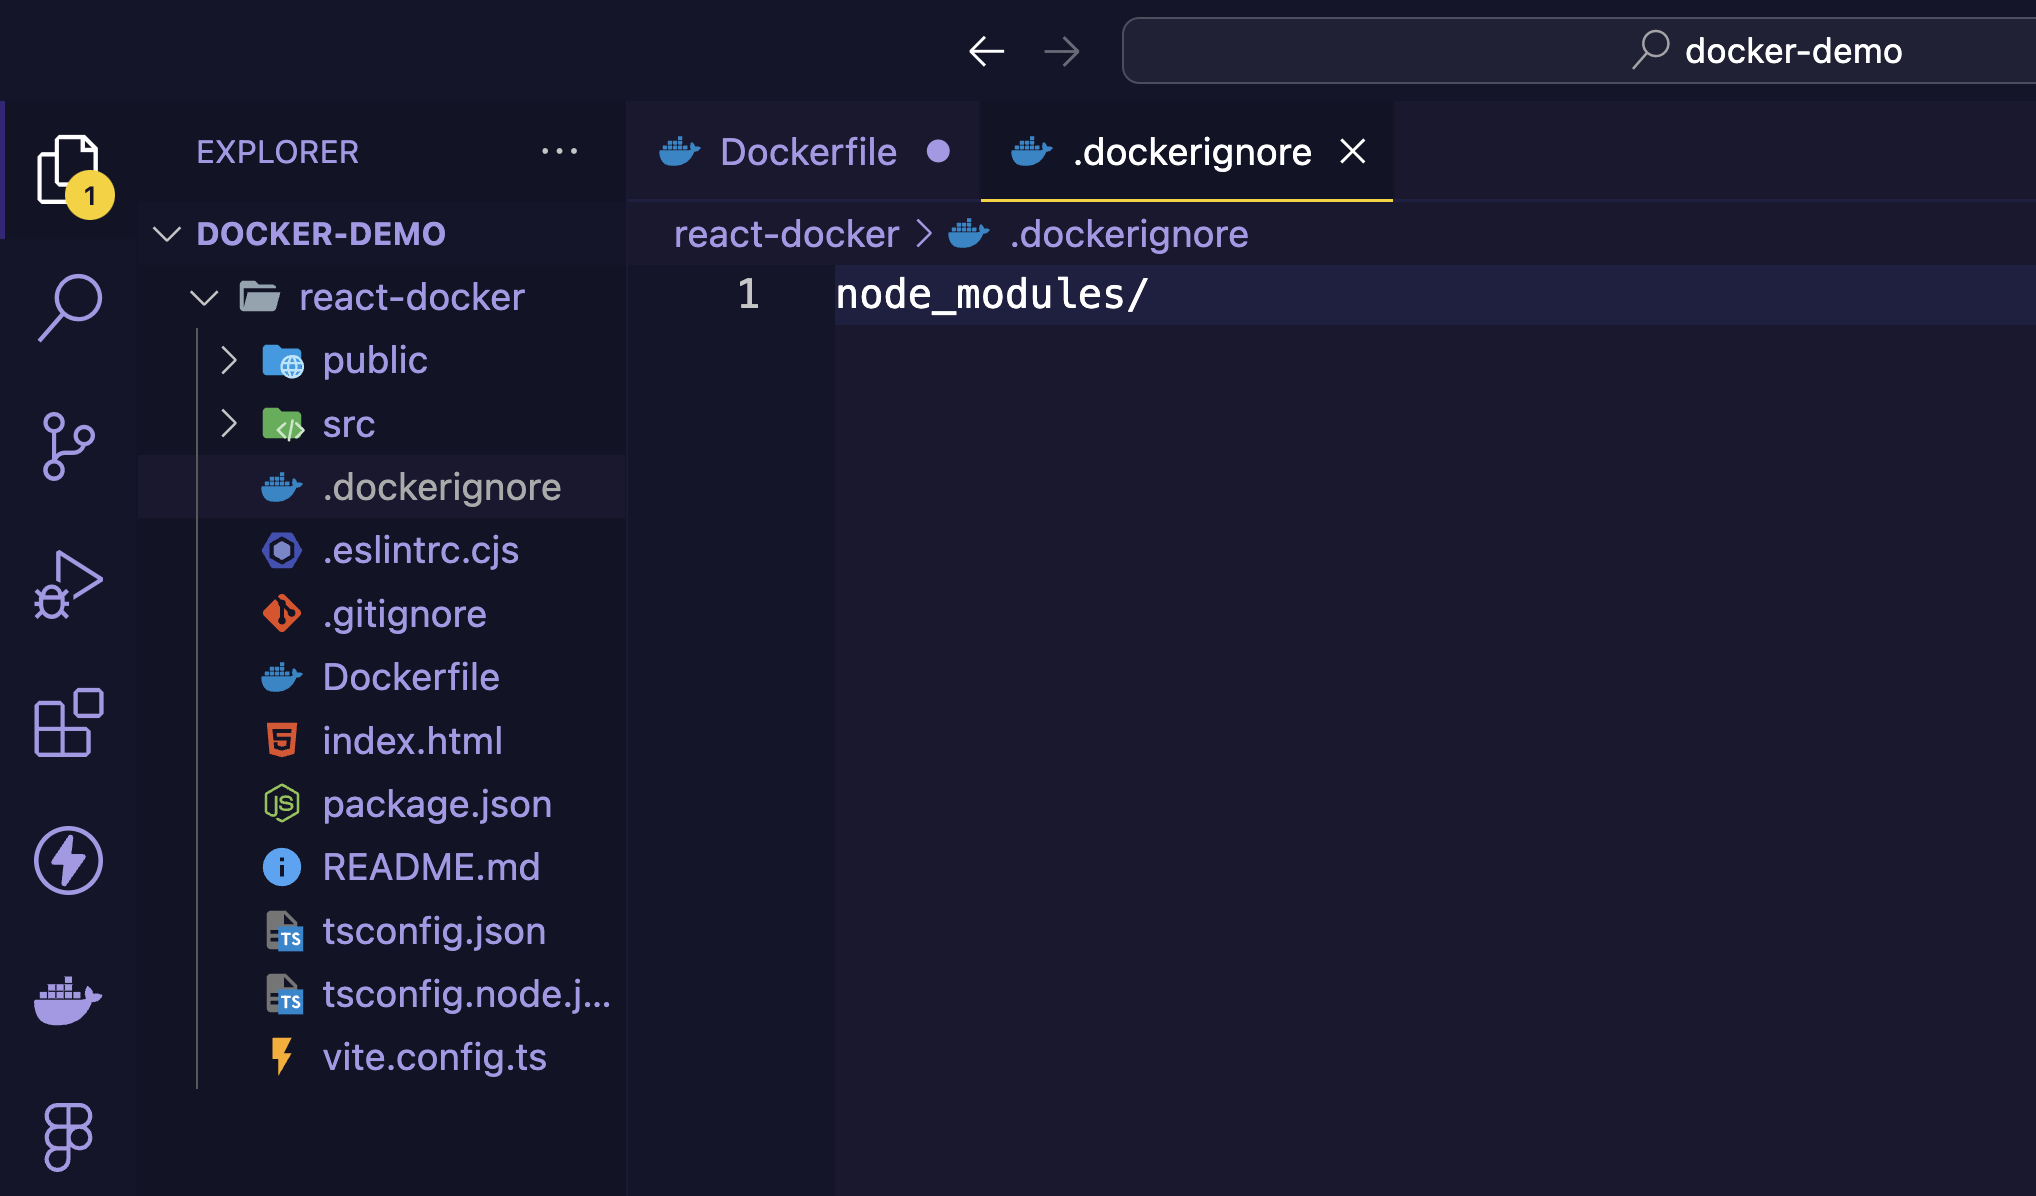
Now create another file namely .dockerignore in the same location where your Dockerfile lives i.e root directory. Add node_modules/ to the contents of the .dockerignore file. It works like .gitignore file.
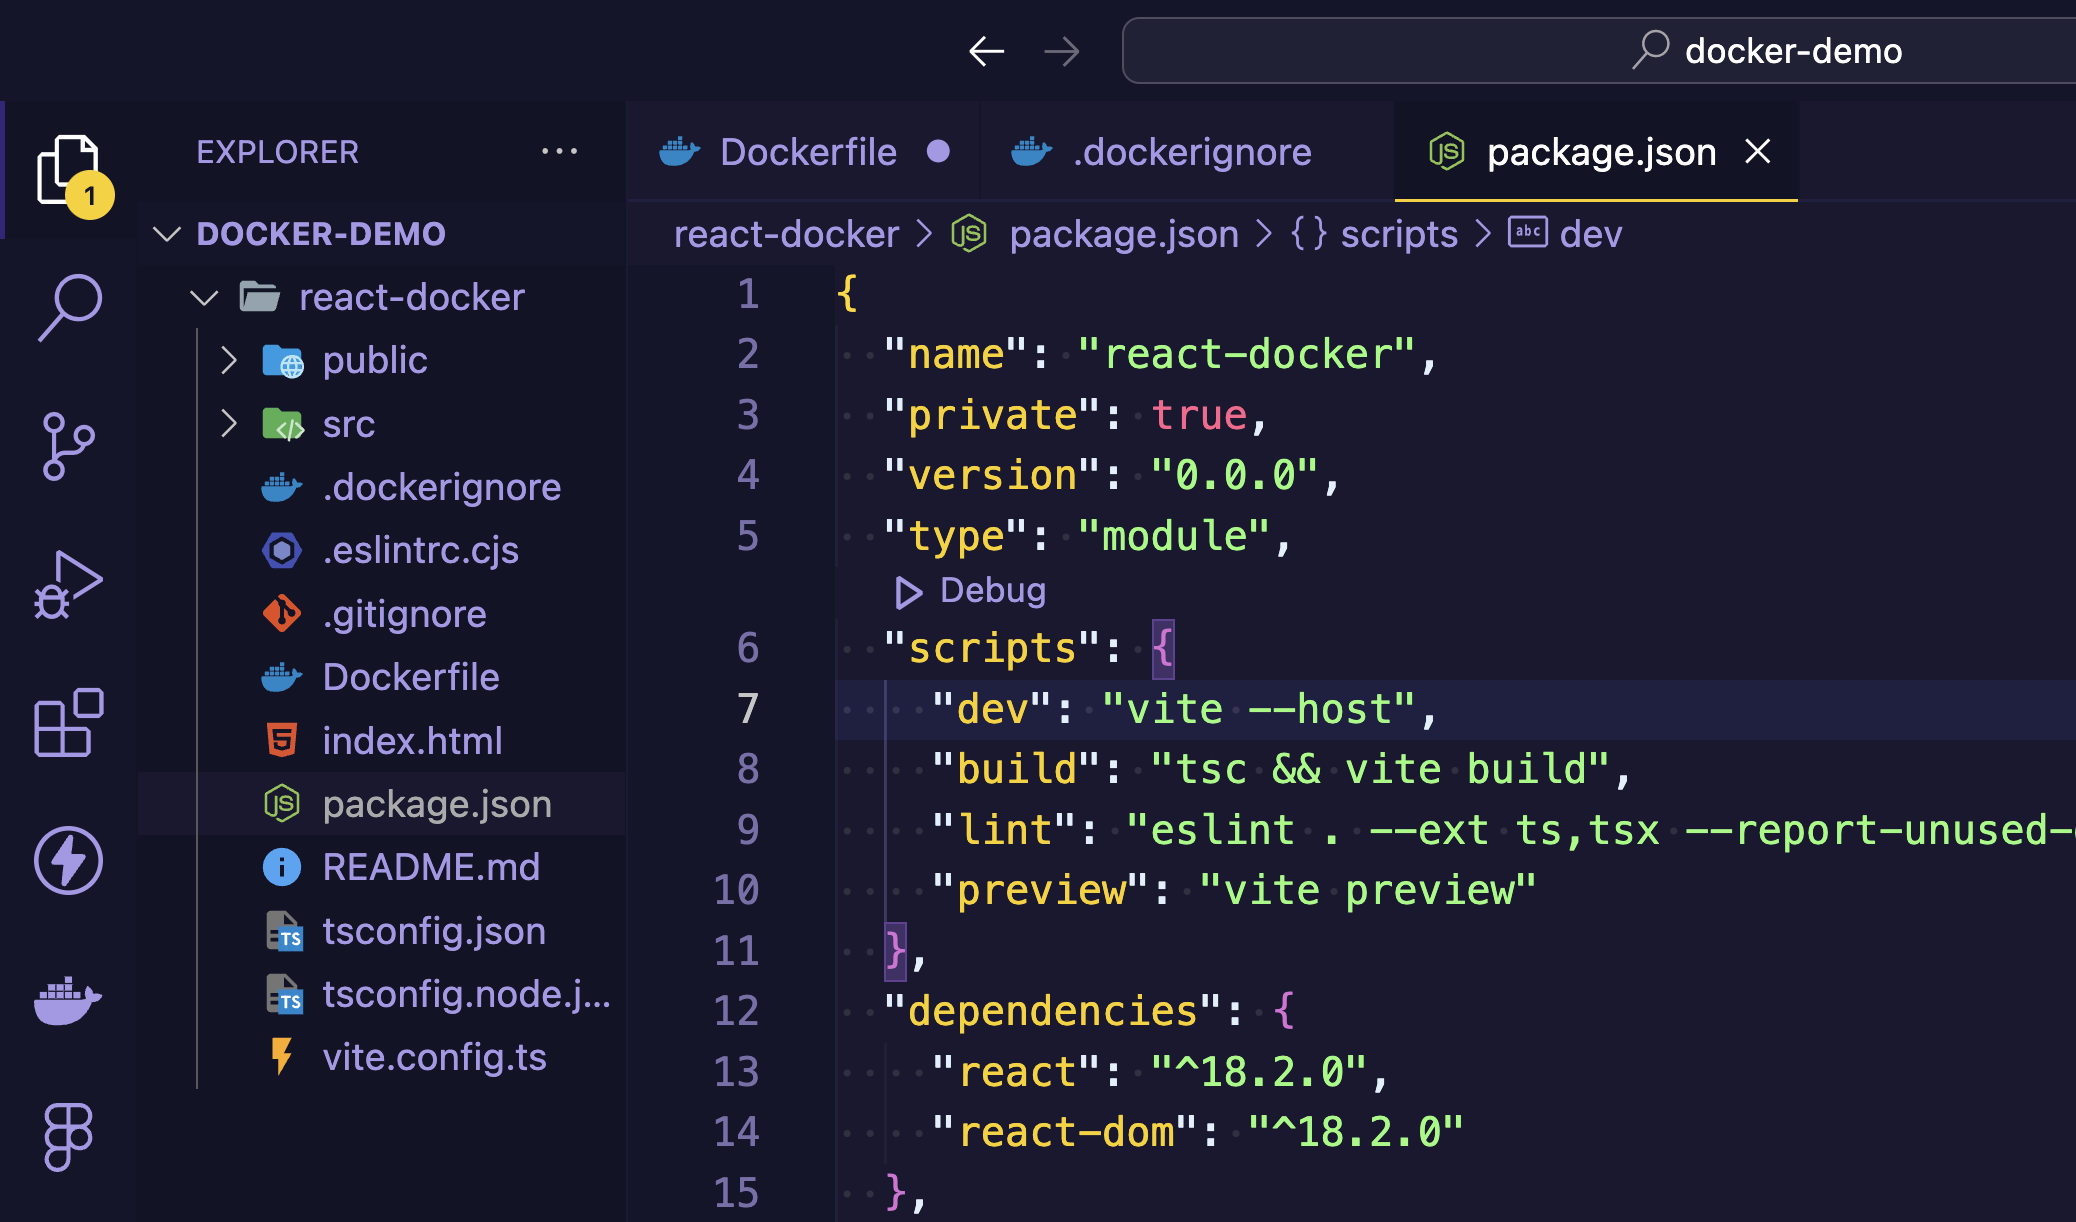
Next, inside your package.json file under scripts, append --host to "dev": "vite" like shown below:
Building Image
It is time to build the image. Switch to the terminal and make sure you are inside react-docker directory. Run this command to build the image.
$ docker build -t react-app .
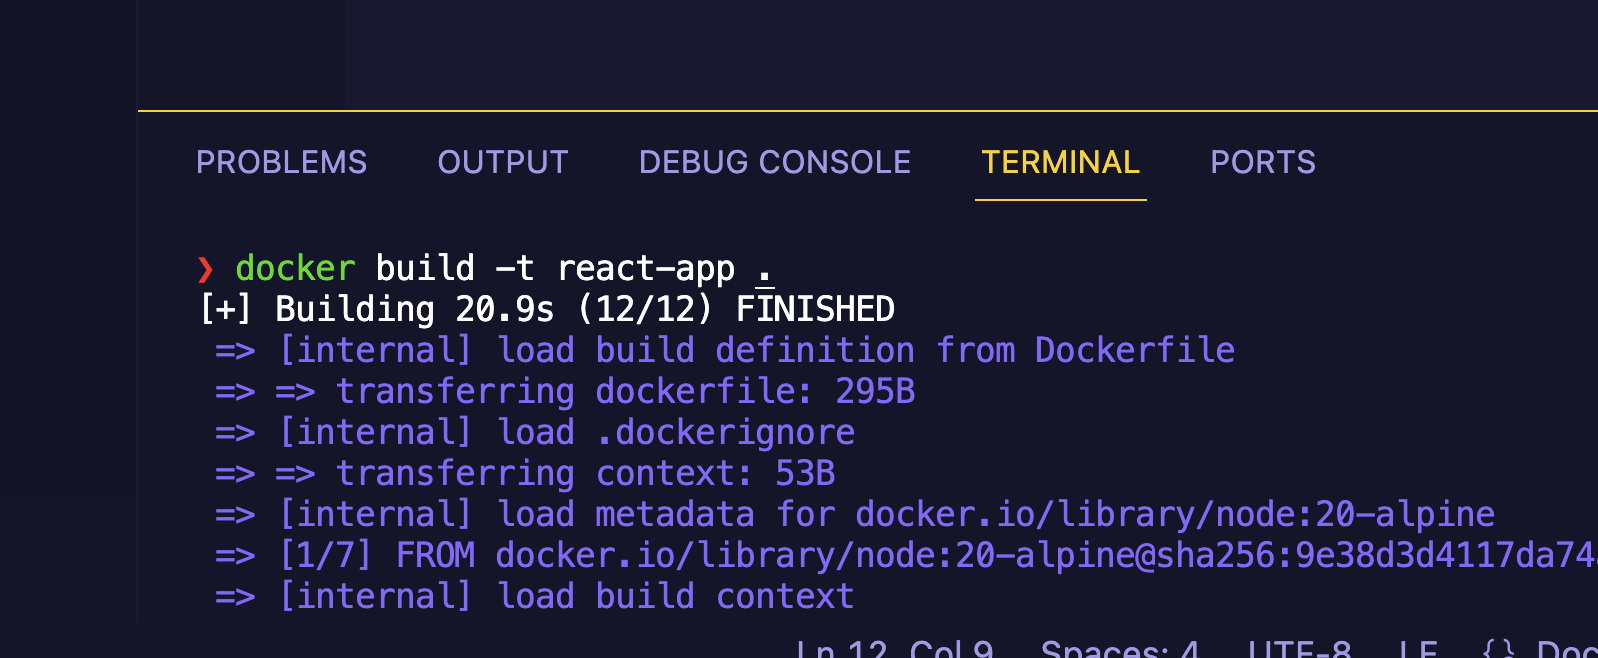
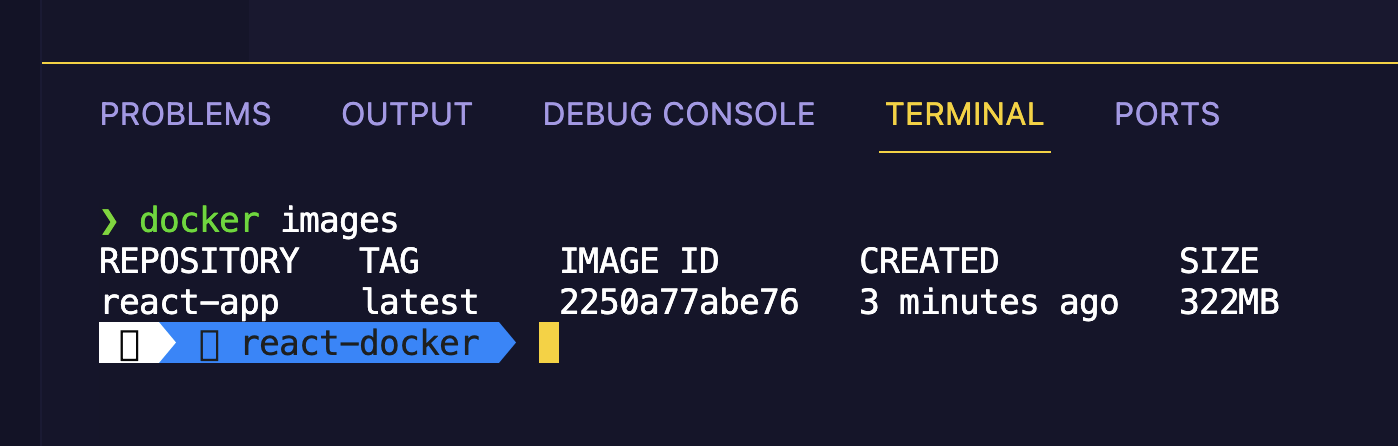
It will take few seconds to finish & bake a docker image out of the react app. To confirm you can run this command to list available docker images:
$ docker images
Running the Container
Now that we have the docker image, we are ready to spin off the docker container running our react app. In the terminal run this command to create the running instance of the docker image.
docker run -p 5300:5300 react-app
docker run: This command is used to run a Docker container based on a specified image.-p 5300:5300: This option maps port 5300 on the host to port 5300 within the Docker container. This allows services running within the container to be accessed via port 5300 on the host machine.react-app: This specifies the image or the Docker container to run.
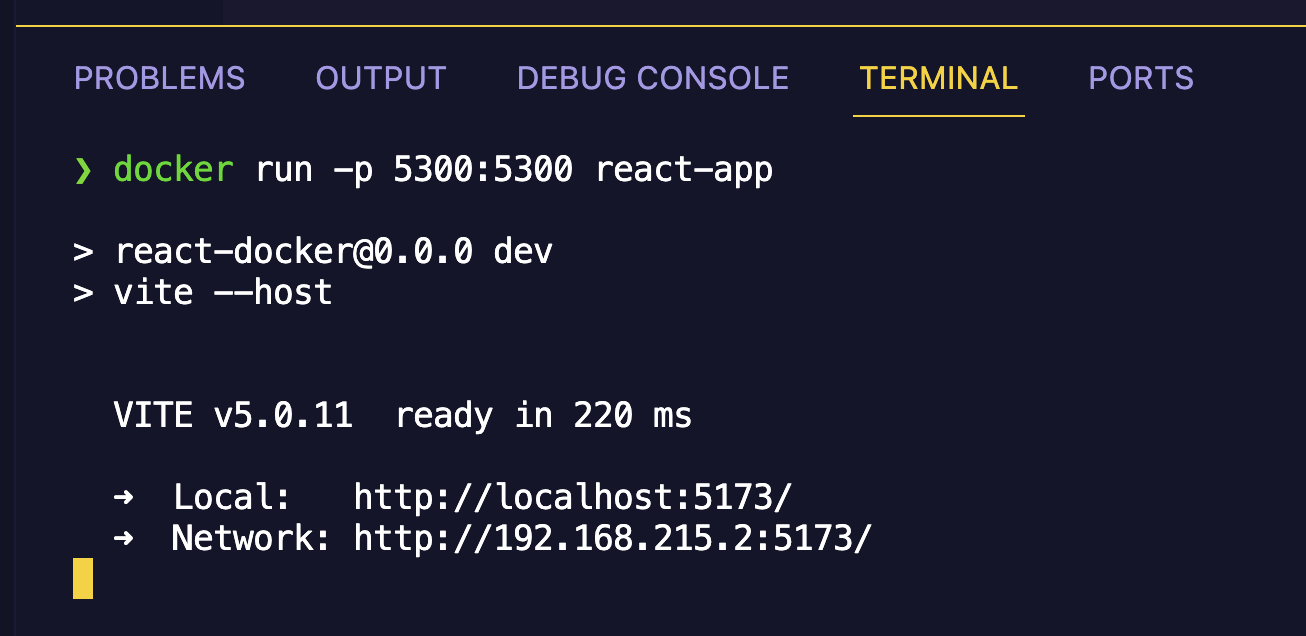
You will get the localhost URL & private IP to launch the app preview in browser. Open either of the links and you should see the live site if you did everything correctly.
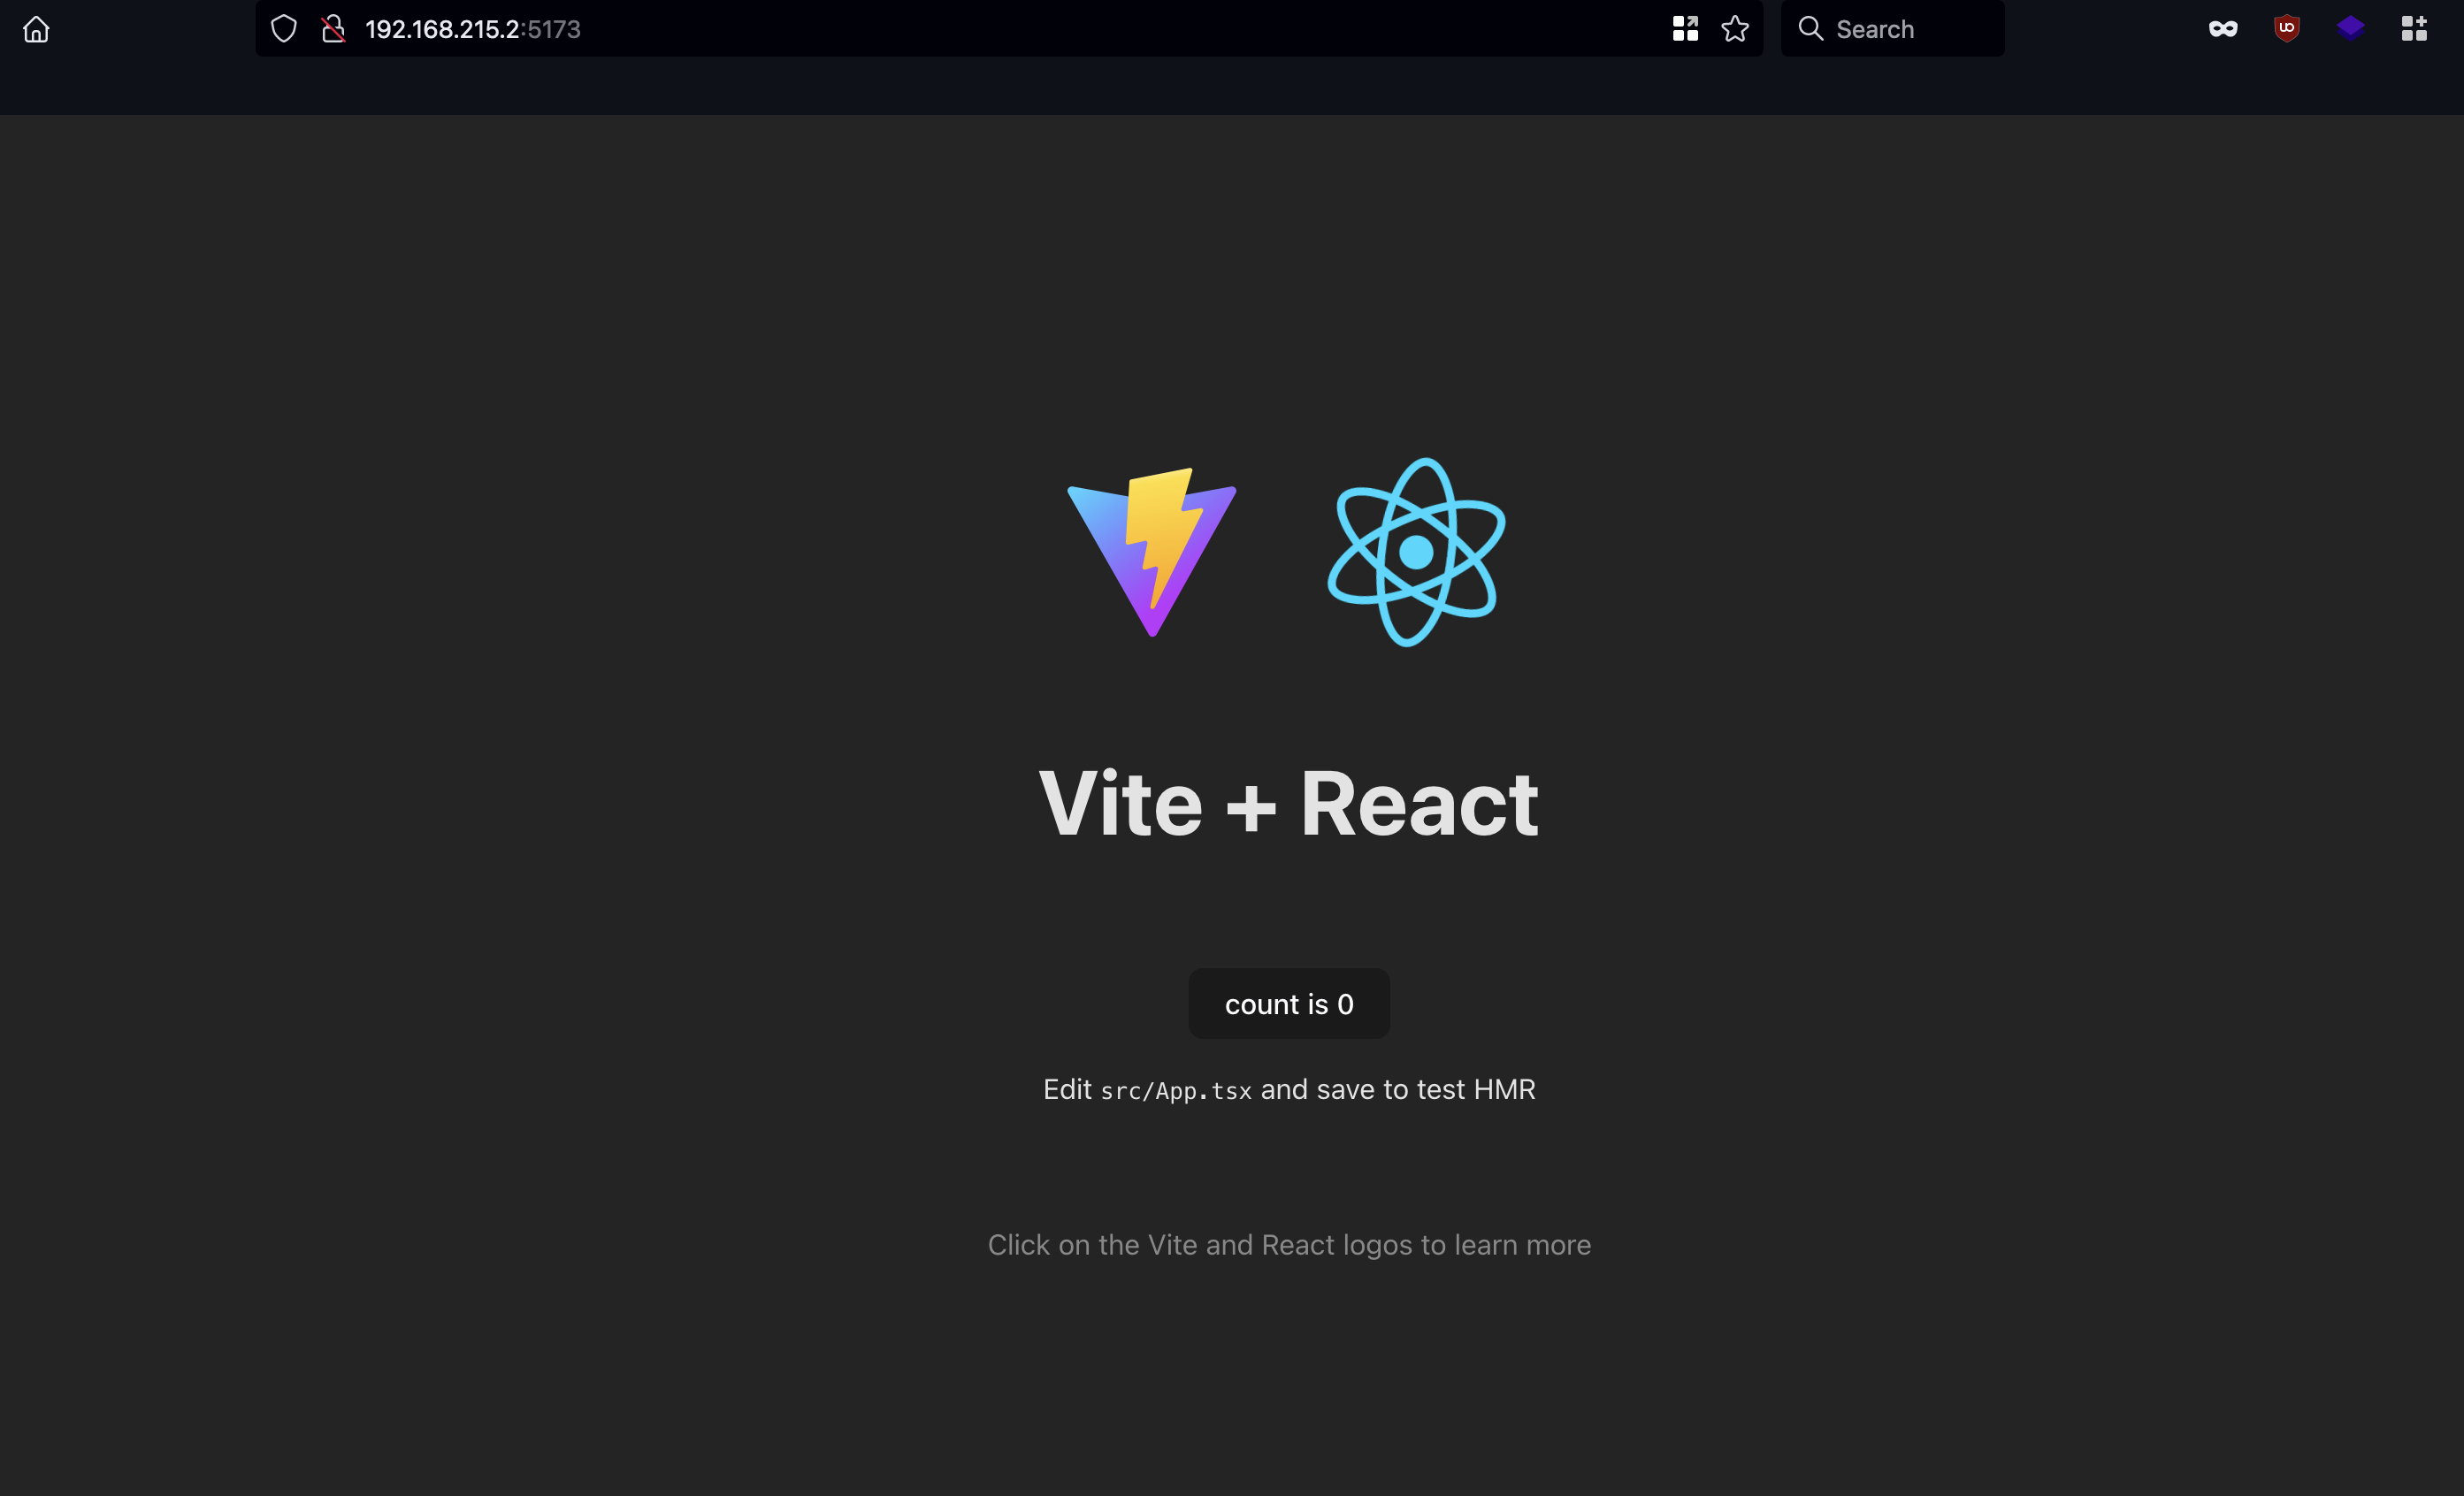
Well, that’s it. You’ve successfully dockerized a React App! 🎉
However, if you try modifying the codebase, you won’t see the changes reflected in the browser. The reason is that the changes in the local codebase aren’t in sync with the running instance of the docker image, which is based on an older version of the code.
Live Changes Sync
Let’s see how we can make the changes in sync with live container. First of all we need to stop the existing container. Close the terminal or hit Ctrl + C to stop the container. Now in the same directory inside terminal run:
docker run -p p:p -v "$(pwd):/app" -v /app/node_modules react-app
-v "$(pwd):/app": This option mounts the present working directory ($(pwd)) on the host to the /app directory within the container. This allows the code changes made on the host to be immediately reflected inside the container.-v /app/node_modules: This maps the /app/node_modules directory in the container, ensuring that the node_modules directory is not overridden by a directory on the host.
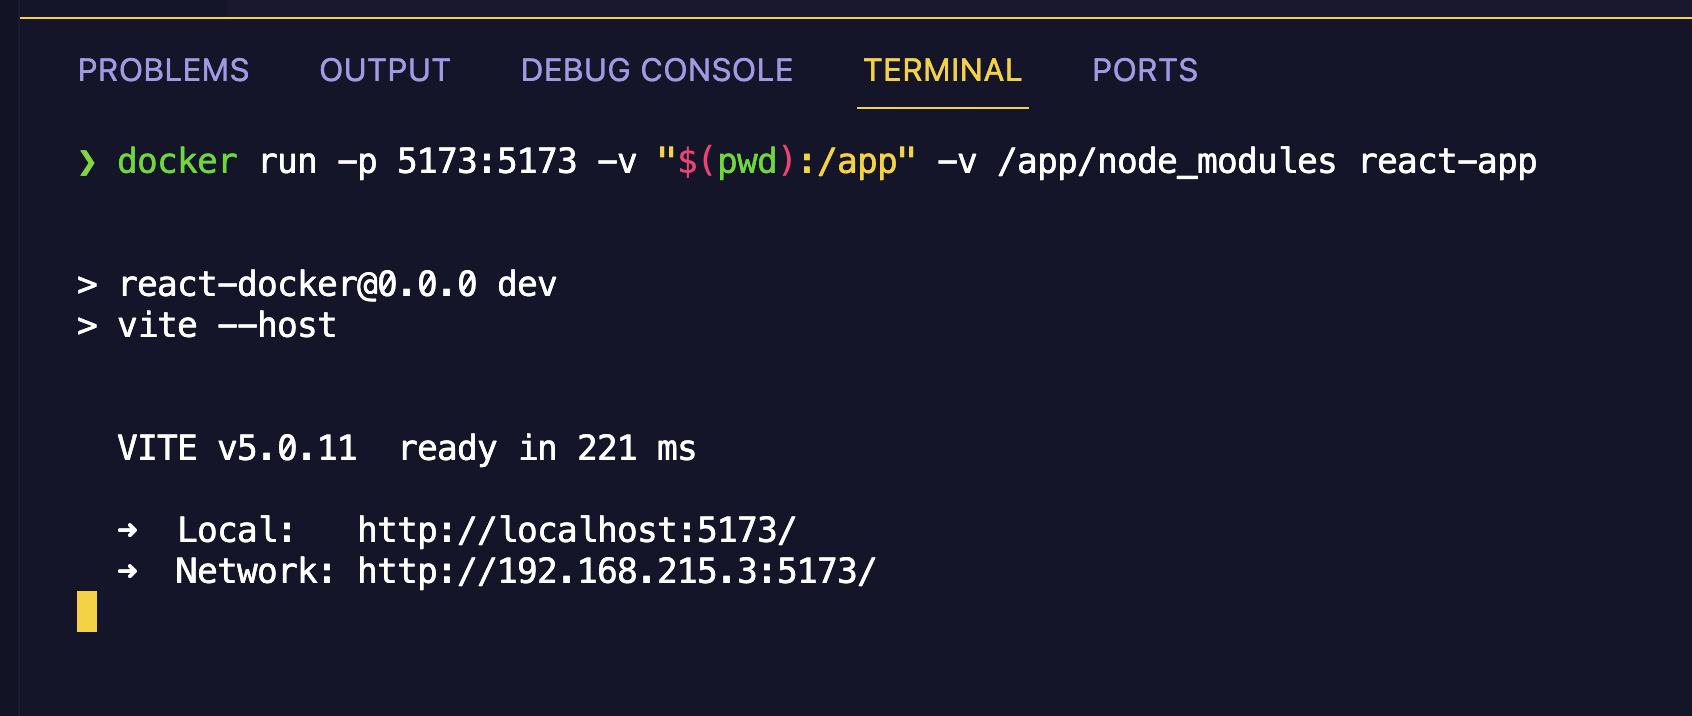
This setup enables live synchronization of code changes, allowing for rapid development and testing within the container environment. Hence, any changes in the local code base will be reflected instantly in the running container.
This is Day 4 of #100DaysToOffload
That is all for today. If you found this post useful consider sharing it with friends.