Creating Windows Bootable USB on Mac
Creating a Windows bootable USB is easy on a Windows PC, but what if you want to create one on a Mac? Well it is not as convenient as on native Windows, primarily due to difference in file systems. There are different approaches to create a bootable USB on Mac, I’m documenting one of ’em here. Hope it turns out ot be helpful for you.
Prerequisites
- USB Drive at least 8GB
- brew macOS package manager
- Windows ISO Image, You can download untouched ISOs here
Step 1
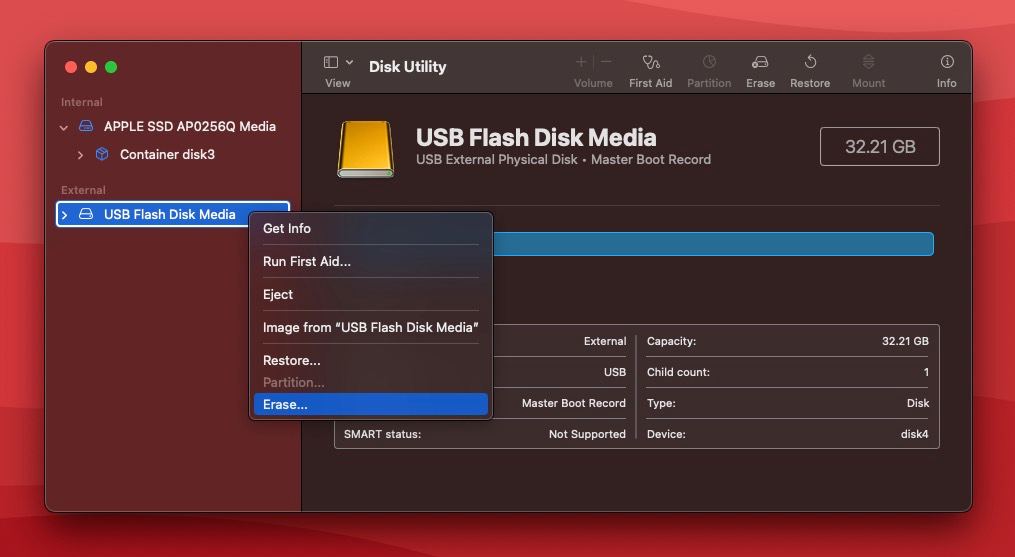
First of all, let’s make sure that the USB is formatted properly, so as to be compatible with the target Windows machine. Mount your USB on your Mac, open the Disk Utility app. Right click on the USB disk and click erase.
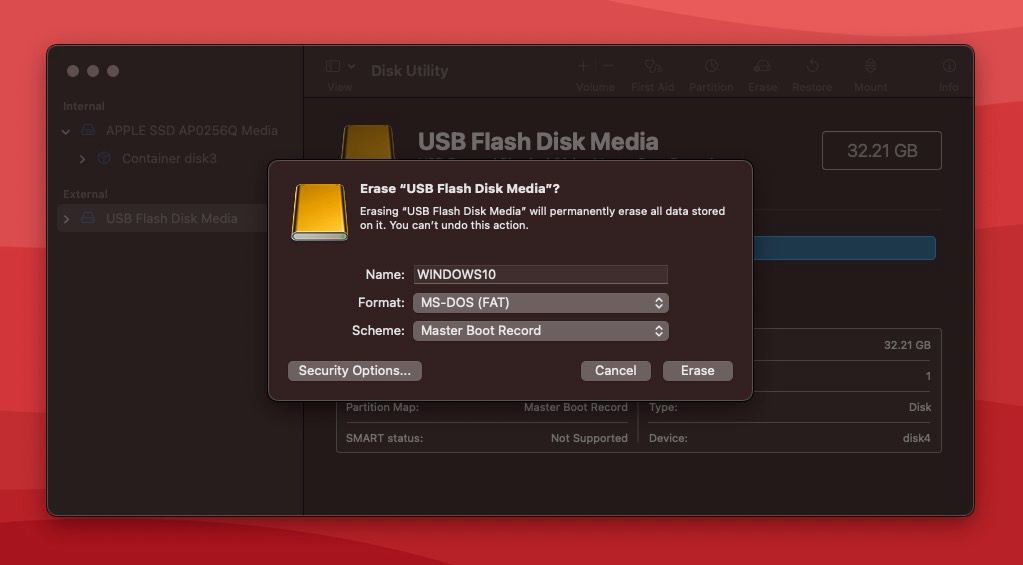
Next, set desired name for your USB. Select format to MS-DOS (FAT) strictly and scheme to Master Boot Record and hit erase.
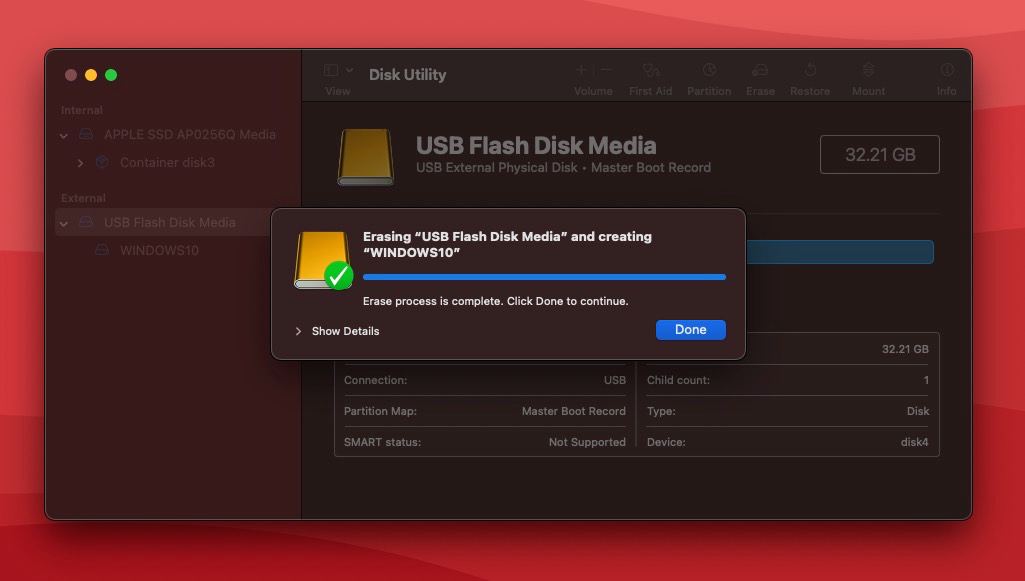
Wait for it to finish. If everything goes alright you will see the success message prompt. Click done.
Step 2
Now head on to the location where you have ISO file saved. Double click on the image to mount it into your file system.
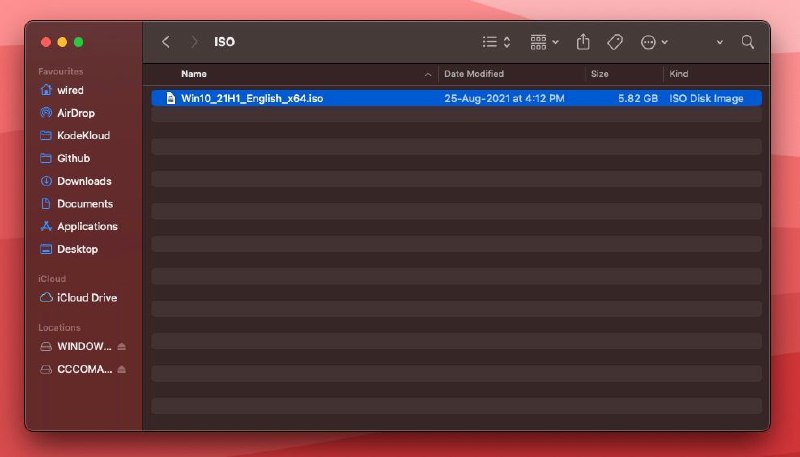
You will see a new mount attached in your Finder, namely CCCOMA_X64.
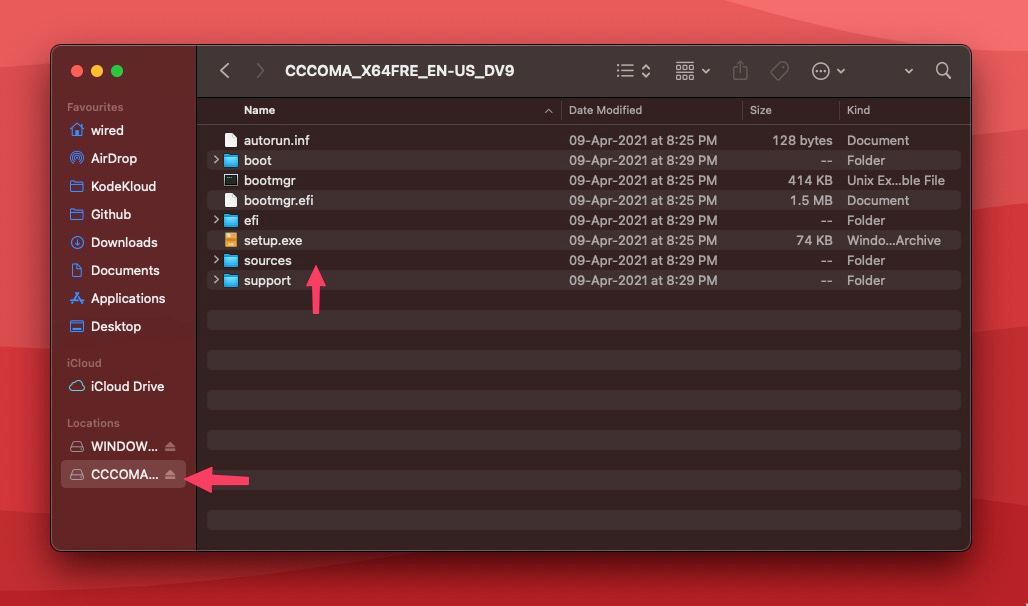
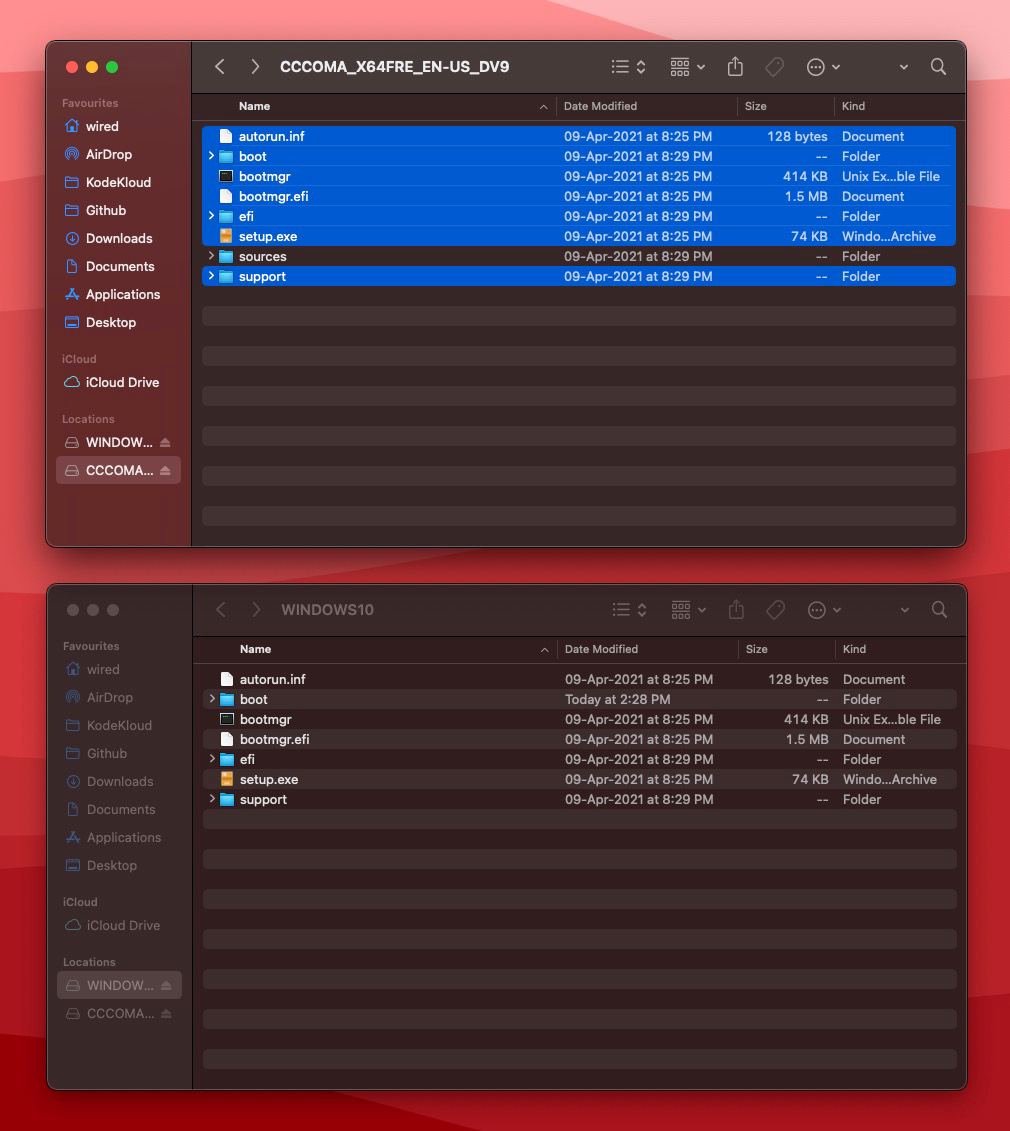
Copy all the files except sources folder to your USB disk.
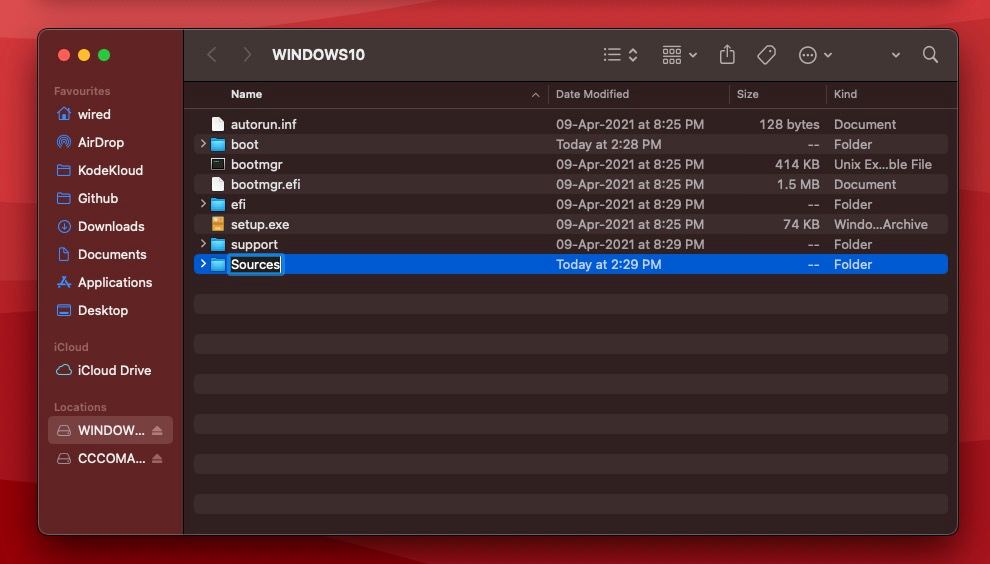
Create a folder named sources in your USB disk.
Navigate to the sources folder Hit Cmd + A to select all files and then hold the Cmd key and click on install.wim file to exclude it. Copy all the contents except install.wim to the sources directory of USB disk.
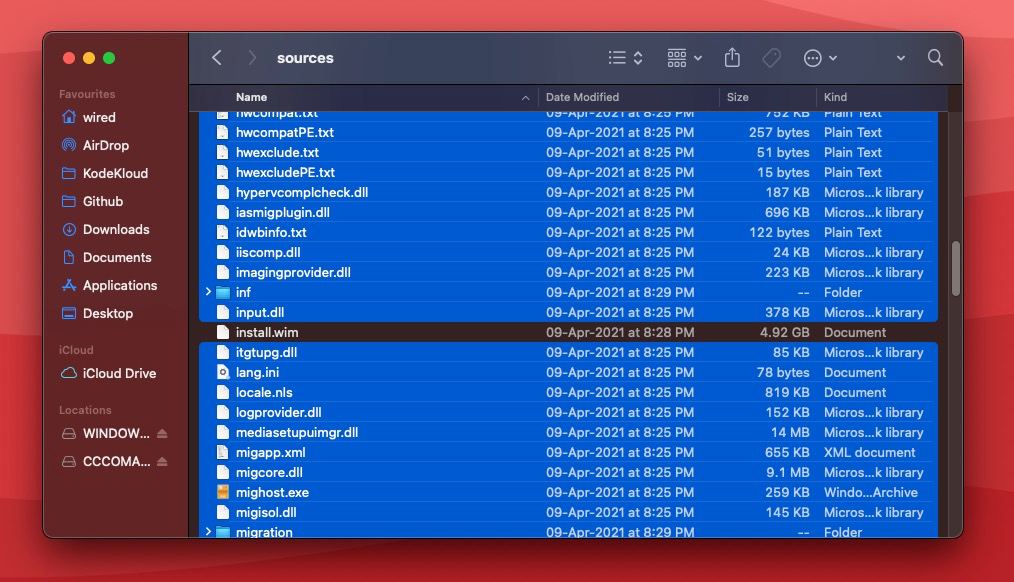
Because we formatted our USB as FAT & FAT file system don’t permit copying files above 4GB and the excluded file install.wim is 4.92GB in size. Therefore we will require a third-party library wimlib to split the files and copy over to USB, which brings us to the:
Step 3
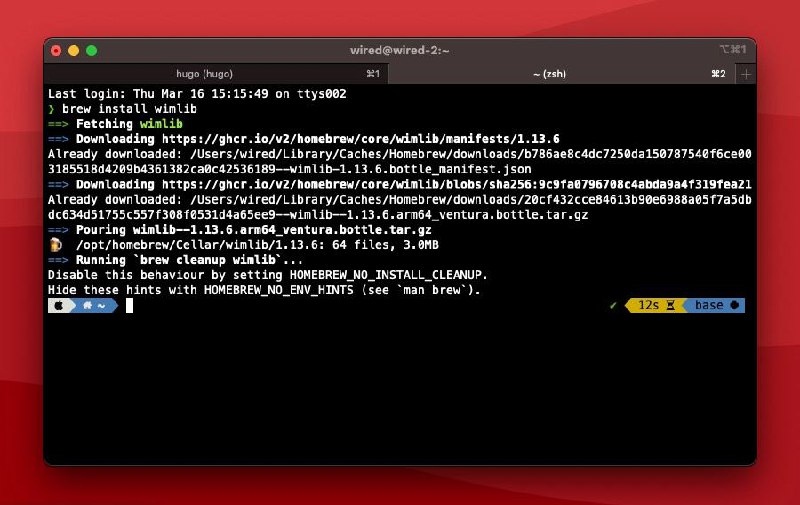
Open your terminal, make sure you have brew installed. Run this command to install wimlib.
brew install wimlib
Now, run this command to copy the install.wim file to USB.
wimlib-imagex split <path-to-sources/install.wim> <path-to-target-sources/install.swm 4000
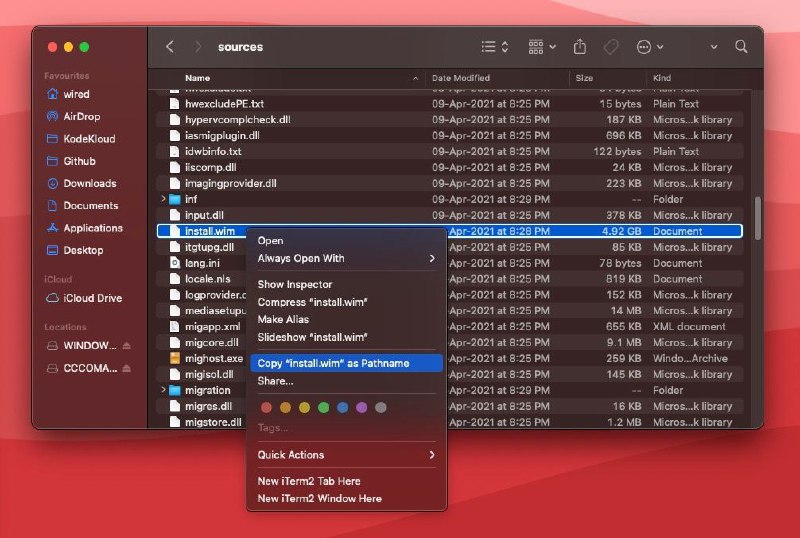
Replace the source & destination parameters with actual path. To get the file path, select install.wim file Hold Alt key on your keyboard hit right click & select Copy install.wim as pathname. Similarly copy the destination path.
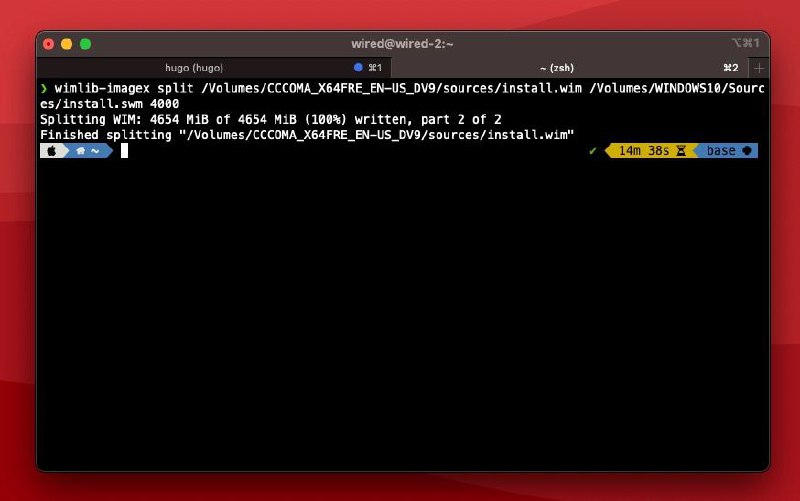
In my case the command would be
wimlib-imagex split /Volumes/CCCOMA_X64FRE_EN-US_DV9/sources/install.wim /Volumes/WINDOWS10/Sources/install.swm 4000
Remember to set the destination file name as install.swm. After executing command wait for operation to complete. It might take few minutes.
Conclusion
Well, that is it, you got the Windows Bootable USB ready. Congrats :)
If you get stuck at any point or If you know any convenient method or client to do the job, please reply via mail. I will be in touch asap.
Update: I came across this new tool to create the Windows bootable USB using Mac, I didn’t personally tested it yet it looks time saving.